
Why Bed Preparation Matters for Healthy Mulch
Mulch installation seems simple, yet the success of your beds depends on what happens before the mulch is dropped. If you are searching for mulch installation Kenosha WI, it is important to know that skipping bed prep invites weeds, pests, and drainage problems. In our climate, with heavy clay soils and freeze-thaw cycles, the base beneath your mulch is just as important as the mulch itself. When you prepare the beds correctly, your mulch lasts longer, plants grow stronger, and you get a finish that looks clean and professional.
At The Doctors of Landscaping, we see the difference every day. Proper prep protects your investment and keeps the property looking sharp. When corners are cut, the problems show up fast and fixing them often costs more than doing it right the first time.
Common Problems When You Skip Bed Prep
Weeds Break Through Quickly
Mulch does not stop weeds on its own. If you mulch over live weeds, roots, or weed seeds, they will push through. Wind can also drop seeds into unprepped beds, where they find easy soil under the mulch. Within weeks, beds look messy and the mulch layer becomes patchy as you pull weeds and disturb the surface. Proper bed prep removes existing weeds and reduces germination, so your mulch can do its job.
Mulch Slides and Washes Away
Unprepared beds often have compacted surfaces that do not interlock with the mulch. On slopes or near downspouts, loose mulch will wash away during a heavy rain. This leaves bare spots, exposes roots, and creates clean-up headaches. A raked, loosened soil surface and defined edges help hold mulch in place.
Poor Drainage and Root Rot
In Kenosha, our soils tend to be high in clay. If you pour mulch over compacted, uneven ground, water can pool under the mulch instead of draining. Constant moisture against stems and trunks can cause rot. Over time, this encourages fungal problems and invites pests. Proper bed shaping, grading away from trunks and structures, and amending the soil improves drainage before mulch goes down.
Nitrogen Tie-Up and Plant Stress
Fresh wood mulch layered thick on unconditioned soil can pull nitrogen from the top layer as it begins to break down. Plants nearby may show yellowing leaves and slower growth. Prepping the bed with compost, proper depth control, and correct mulch type reduces this issue and helps maintain steady plant health.
Pest Harborage
Uncut vegetation, leftover grass clippings, and debris beneath mulch can create hiding places for ants, earwigs, and other insects. Thick mulch piled against building foundations can also attract unwanted pests. Bed prep clears debris and sets a safe mulch line that does not touch siding or trap moisture against the structure.
Freeze-Thaw Heaving
Kenosha winters bring soil movement. If beds are not prepped, the mulch layer can become uneven as the ground heaves. Plants can lift, roots can be exposed, and mulch can crack apart. Bed prep includes loosening compacted soil and leveling, which helps cushion seasonal movement and keeps mulch even through winter.
Mulch Volcanos at Trees
Skipping prep often leads to mulch piled high against tree trunks. This traps moisture and creates a warm, dark zone that invites decay and insects. Over time, it can girdle the trunk and kill the tree. Proper bed prep defines a root flare ring and sets the right depth and distance from the trunk.
Shortened Mulch Lifespan
Mulch installed over unprepared beds breaks down faster because of constant moisture swings and frequent disturbance from weeds and washouts. That means more frequent refreshes and more money spent. With smart prep, mulch stays attractive and functional longer.
The Right Way to Prepare Beds Before Mulching in Kenosha, WI
Good results come from a good foundation. The following approach is what we use at the doctors of landscaping to deliver clean beds and long-lasting results for mulch installation Kenosha WI homeowners can trust.
Step-by-Step Prep Checklist
- Remove debris: Clear sticks, old mulch mats, leaves, and trash. Do not trap decay under the new mulch layer.
- Eliminate weeds: Hand pull or cut at the root, then use a targeted post-emergent on tough invaders. Avoid blanket spraying desirable areas.
- Edge the beds: Create a neat trench edge 3 to 4 inches deep along lawn borders. This edge locks mulch in place and gives a crisp outline.
- Loosen compacted soil: Lightly till or rake the top 2 to 3 inches. Break crusted surfaces so water can soak in rather than run off.
- Amend where needed: In heavy clay, blend in compost to improve structure. This encourages root growth and better drainage under mulch.
- Grade for drainage: Feather soil away from tree trunks, shrubs, and structures. Aim for a gentle slope that moves water where it should go.
- Consider a pre-emergent: Apply a pre-emergent herbicide approved for your plants to slow future weed seeds. Follow label directions.
- Skip landscape fabric in beds: Fabric often blocks water and makes weeding harder later. It can push mulch to slide. Use it only under stone or in select erosion-prone spots.
- Water and settle: If the bed is very dusty, a light watering helps settle soil before mulch application.
- Install mulch: Spread evenly to the correct depth and keep mulch off stems and trunks.
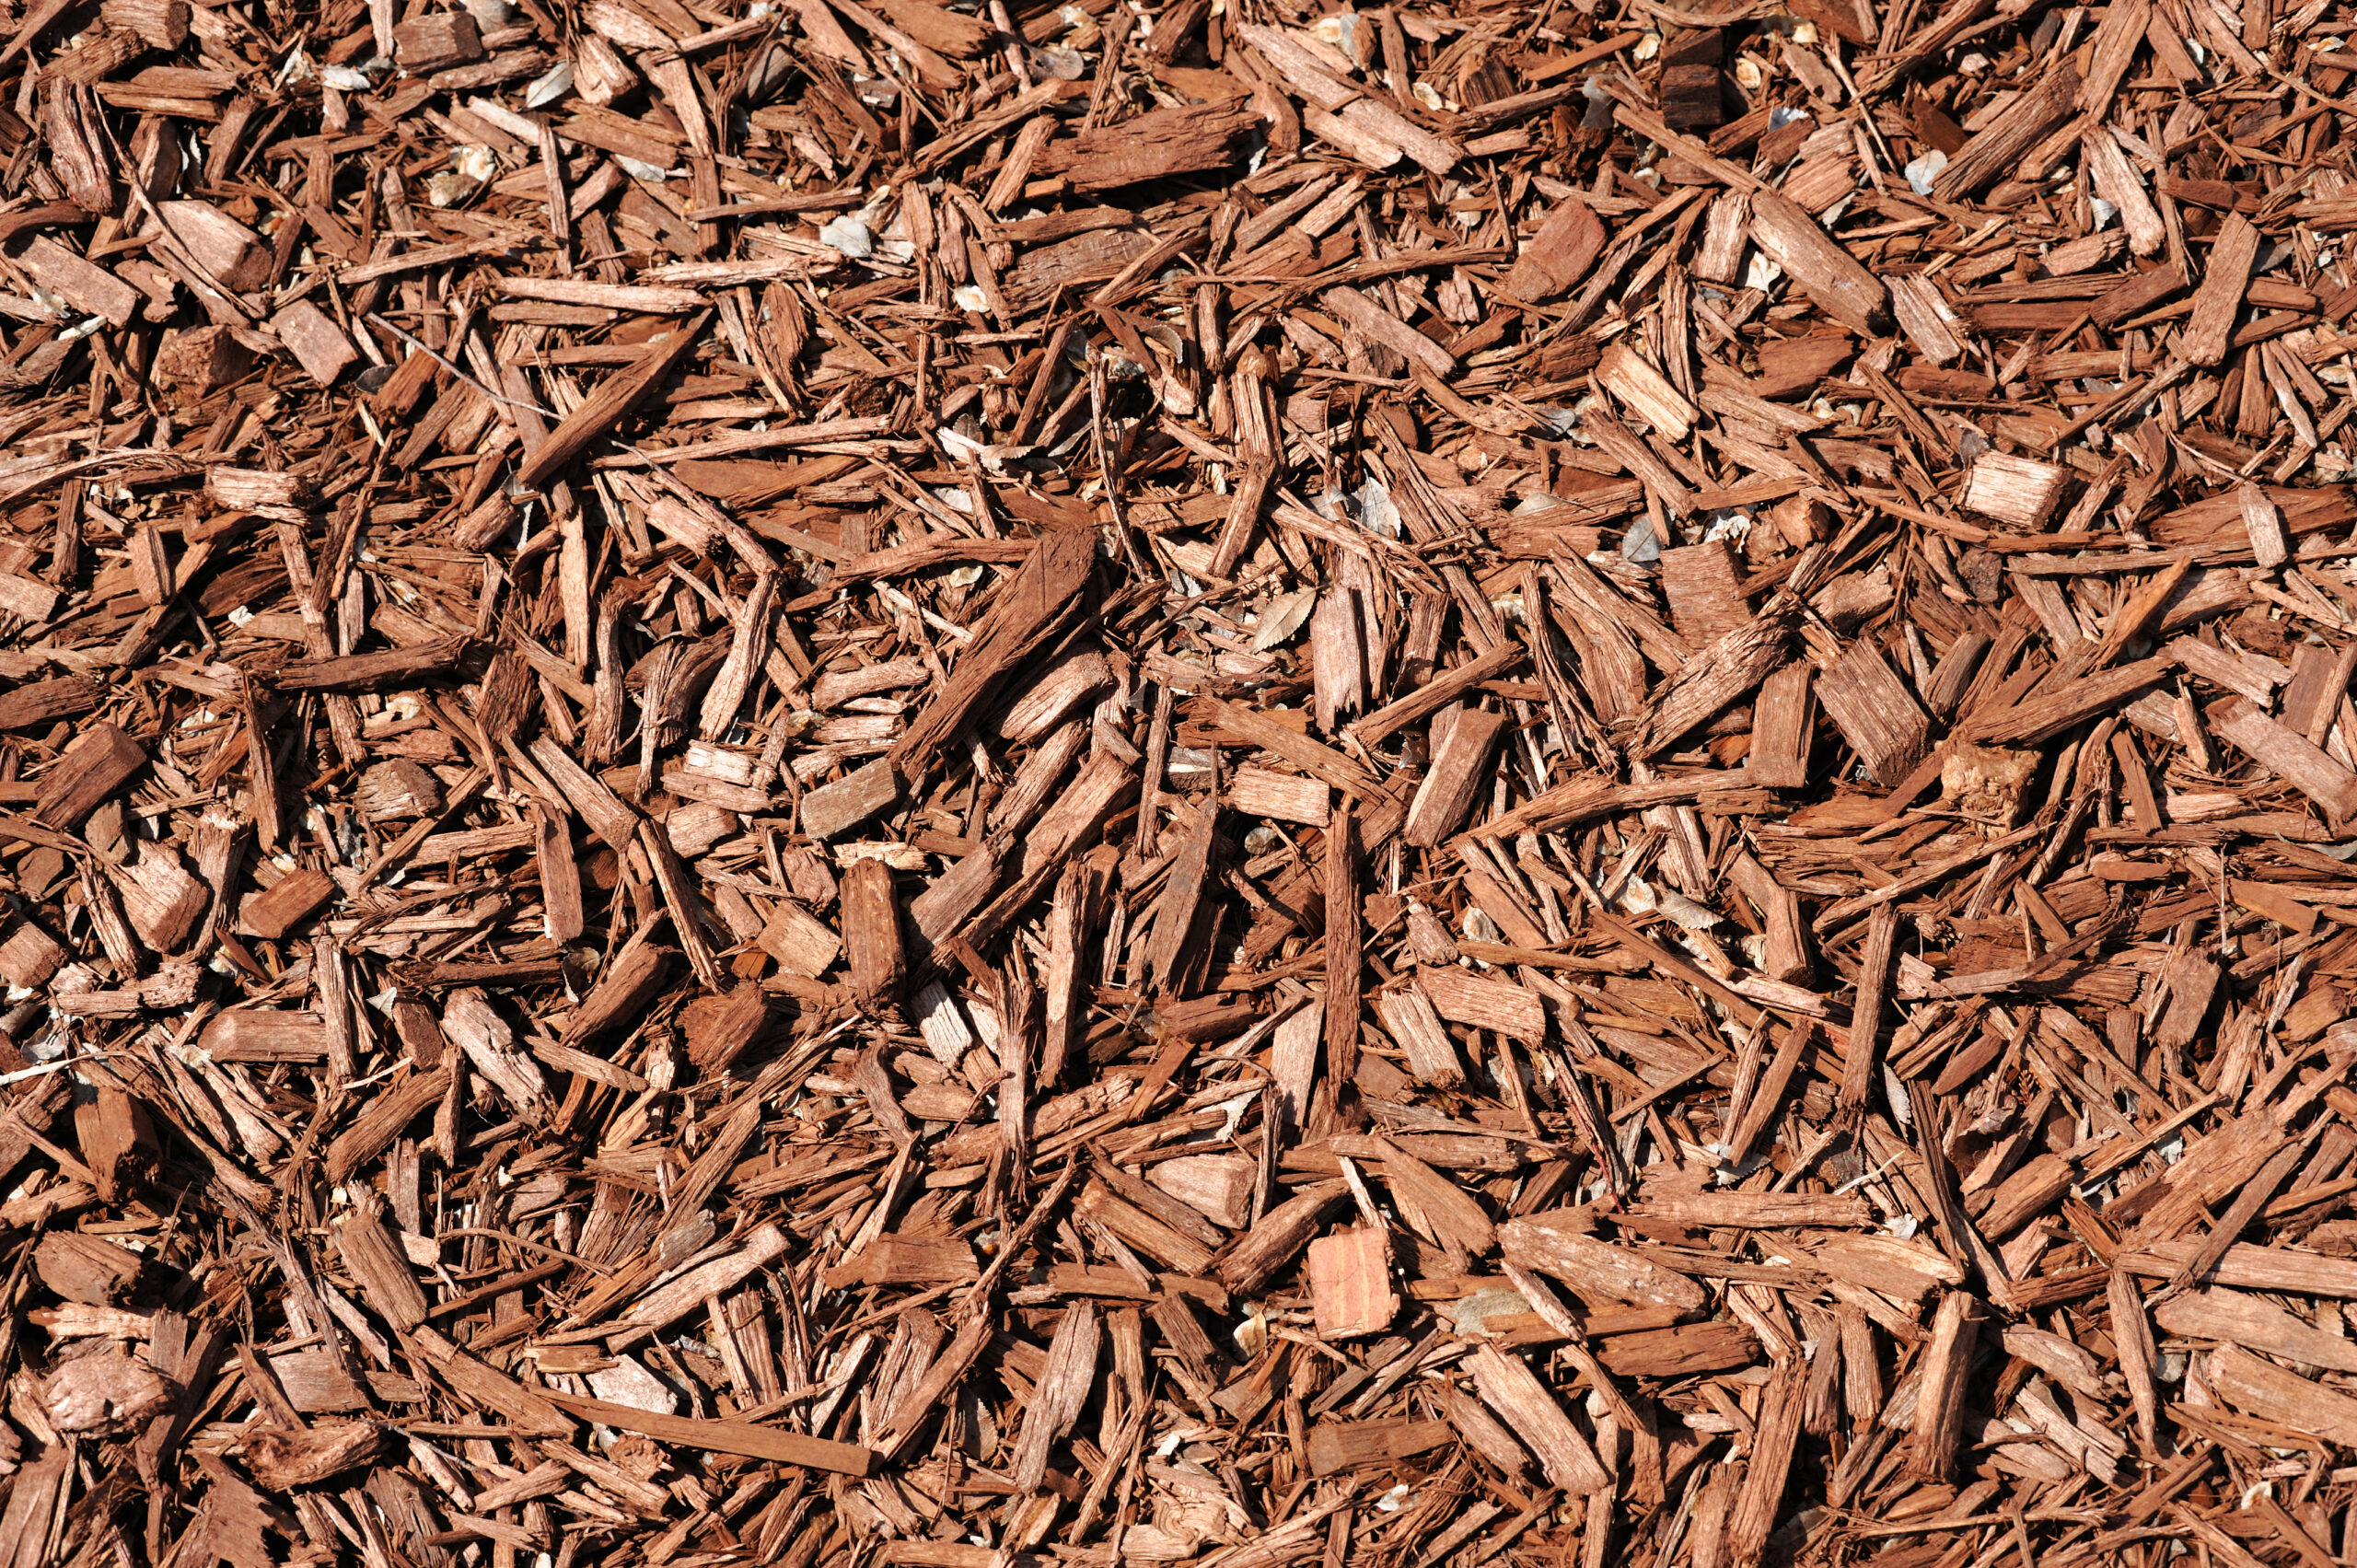
How Much Mulch Do You Need? Depth and Coverage
For most planting beds, 2 to 3 inches of mulch is the sweet spot. Less than 2 inches does not block light for weeds or regulate temperature well. More than 3 inches can smother plant crowns and hold too much water. Around trees, keep mulch about 2 inches deep and pull it back 3 to 6 inches from the trunk. Around perennials and small shrubs, keep a slight gap near stems so air can circulate. When in doubt, ask the team at The Doctors of Landscaping. We calculate depth, slope, and plant types to dial in a safe, effective layer for mulch installation Kenosha WI properties need.
Fixing a Bad Mulch Installation
If your beds are already mulched without prep, you can still course-correct. The longer you wait, the more weeds and moisture problems build up. Here is how we fix it.
- Assessment: Identify weed pressure, drainage issues, and plant stress. Check mulch depth and quality.
- Pull back mulch: Rake away mulch from trunks, stems, and problem zones. Set aside reusable mulch if it is clean and in good condition.
- Weed and clean: Remove weeds by root and dispose of them. Clear debris and old fabric if present.
- Recondition soil: Loosen compacted areas, amend heavy clay with compost, and shape for flow away from plants and structures.
- Edge beds: Re-establish a clear border to hold mulch and create a crisp line.
- Reapply mulch at proper depth: Spread evenly and avoid high piles. Reuse good mulch and add fresh as needed to reach the right thickness.
- Set a maintenance plan: Spot-weed, top off annually as needed, and monitor moisture after heavy rains or during dry spells.
Many homeowners call the doctors of landscaping after a DIY attempt that looked good for a month, then failed. A professional reset protects your plants and reduces long-term costs.
Picking the Right Mulch for Your Yard
Not all mulch is equal. Choosing the right material helps your landscape look great and perform well.
- Natural hardwood mulch: A reliable choice for most beds. It knits together well and resists washouts when prepped properly.
- Cedar mulch: Offers a pleasant scent and good longevity. Often a good pick near foundation plantings.
- Hemlock or premium bark mulches: Rich color and fine texture for high-visibility areas.
- Dyed mulch: Gives long-lasting color. Use quality products with non-toxic dyes and install on dry days for best results.
- Stone and gravel: Good for drainage zones, dog runs, or persistent weed areas with fabric underlayment. Not ideal for most planting beds because it heats up and can compact soil over time.
Your plant palette, sunlight, slope, and goals should guide your choice. The Doctors of Landscaping recommends materials that complement your home and hold up to Kenosha weather.
Seasonal Timing in Kenosha
Timing matters for mulch installation Kenosha WI residents can rely on all year. Spring is popular because it cleans up winter debris and locks moisture before summer heat. Early fall is also a strong choice, giving roots insulation before winter. Avoid mulching onto frozen ground or during a stretch of heavy rain. After installation, water lightly if conditions are very dry, and check edges after the first storm to ensure mulch is stable.
The Cost of Skipping Bed Prep
It might seem faster to throw mulch over whatever is there, but the costs add up.
- Extra mulch replacements due to washouts and breakdown.
- More weed control visits and plant replacements.
- Poor curb appeal that affects property value.
- Water damage or rot near structures from bad drainage.
Proper prep is a small upfront investment that prevents larger expenses. The doctors of landscaping help you avoid these pitfalls with a plan tailored to your property.
Why Choose The Doctors of Landscaping
The Doctors of Landscaping is a locally owned and operated company in Kenosha with more than 30 years of experience. What started as a small lawn service has grown into a full-service provider with mowing, edging, clean-ups, bed and planting services, hardscaping, seasonal maintenance, and snow removal. Customers choose us for reliable scheduling, precise installation, and complete clean-up. When it comes to mulch installation Kenosha WI homeowners want a team that knows the local soils, weather, and plants. That is exactly what we deliver.
Here is what you can expect from the doctors of landscaping:
- Detailed prep done right the first time.
- Proper mulch selection and depth for your site.
- Neat edges and clean lines that hold up to weather.
- Efficient crews, respectful service, and a tidy finish.
- Free estimates and a clear plan for future upkeep.
Because we handle everything from bed prep to seasonal cleanups and snow removal, you can trust one team to keep your property looking its best all year.
FAQs About Mulch Installation in Kenosha, WI
How often should I refresh mulch?
Plan on a light top-off once a year, or every other year if depth is still adequate. Focus on maintaining a 2 to 3 inch layer. Beds in full sun and high-wind areas may need more frequent attention.
What about using landscape fabric under mulch?
We rarely recommend fabric in planting beds. It interferes with water and air movement and makes weeding harder. Fabric is useful under stone, in pathways, or in certain erosion zones. For most beds, good prep and maintenance works best.
Will mulch attract termites or other pests?
Mulch does not create pests, but poor installation can make a home for them. Keep mulch away from wood siding and set it at proper depth. Bed prep that removes debris and sets correct clearances reduces pest issues.
What is the best mulch color?
Choose a color that complements your home and plantings. Natural brown is versatile. Black can make green plants pop. Cedar offers a warm tone. Quality matters more than color, so pick a stable product that will not fade quickly.
Can I mulch in summer?
Yes, with care. Avoid the hottest part of the day, water plants well before and after, and do not bury crowns. Summer mulching can help retain moisture during dry spells.
How do I calculate how much mulch to order?
Measure the length and width of each bed to estimate square footage, then multiply by the desired depth converted to feet. The Doctors of Landscaping will confirm the calculation during your free estimate.
Pro Tips for Long-Lasting Mulch Beds
- Edge before mulching to lock the border and reduce washouts.
- Avoid piling mulch at plant stems and tree trunks.
- Use a rake to fluff compacted areas after storms.
- Spot-weed regularly so seeds do not establish.
- Top off lightly rather than burying beds with thick new layers.
Get a Quote for Mulch Installation Kenosha WI
If you want healthy beds and a clean, finished look that lasts, start with proper prep. The Doctors of Landscaping builds every mulch project on a solid foundation, using proven methods suited to Kenosha’s soil and weather. From weed control and edging to correct depth and clean-up, our team handles the details so you do not have to.
Ready to protect your landscape investment and avoid the headaches of poor installation? Contact the doctors of landscaping for mulch installation Kenosha WI homeowners trust. Request your free estimate today and get on the schedule. We will evaluate your beds, recommend the right materials, and deliver a smooth, reliable result that looks great all season long.
Leave A Comment